

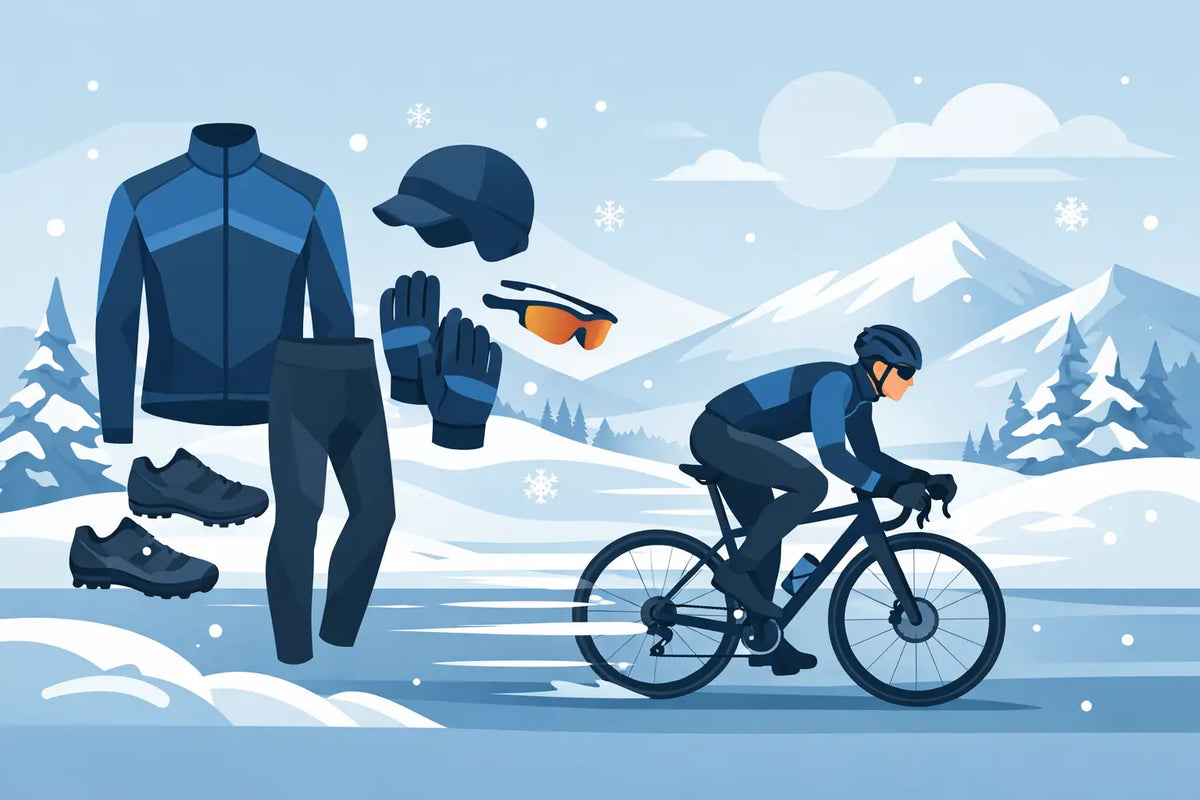
Cold rides are rarely lost because a rider did not own the warmest jacket. They are lost when the first hard effort creates sweat, the descent turns that moisture cold, and the kit cannot adapt. This winter cycling kit guide is built around one goal: staying dry, mobile, and focused enough to ride at your intended pace.
Winter kit is a system, not a single garment. The right setup protects your core from wind and rain while letting excess heat escape. It keeps your hands functional for braking, your feet comfortable on long exposed roads, and your fit precise enough that fabric does not flap or bunch when the pace rises.
Start With Conditions, Not the Calendar
A 45-degree ride in dry sunshine can require less protection than a 55-degree ride in rain and wind. Temperature matters, but wind speed, precipitation, route profile, ride intensity, and expected stops matter just as much. A flat endurance ride with steady exposure calls for a different setup than a hilly group ride where repeated climbs generate heat and descents drain it quickly.
Think about the coldest part of the ride, not only the first five minutes outside your door. If the route includes a long descent, a coastal headwind, or a late-afternoon temperature drop, build that protection into the kit from the start. You should feel slightly cool when standing still before a hard ride. If you are fully warm before rolling out, there is a good chance you will overheat once the work begins.
Fit also changes the equation. A close, athletic fit manages layers efficiently and reduces the air gaps that can trap cold moisture. It should never limit shoulder rotation, breathing, or movement on the bike. Race-ready winter apparel needs enough structure to stay in place under pressure, without becoming restrictive when you reach for the drops or move around the saddle.
The Winter Cycling Kit Guide to Smart Layering
The most reliable cold-weather setup starts next to the skin. A base layer should move sweat away from your body, not hold it there. For cool and dry rides, a lightweight long-sleeve base layer can provide just enough warmth while keeping the kit breathable. As temperatures fall, a thermal base layer adds insulation without forcing you into a bulky outer layer.
Avoid treating a base layer as an optional extra. Cotton absorbs moisture and stays wet. Once it is wet, your body must work harder to stay warm. A technical synthetic or merino-blend construction is a stronger choice because it manages sweat during efforts and remains more comfortable as conditions shift.
Over the base layer, choose your insulation according to the intensity of the ride. A thermal jersey is often the most versatile middle layer for dry, cold days. Its job is to trap warm air close to the body while still allowing moisture to move outward. For many riders, this is the piece that carries the largest share of the winter workload.
The outer layer handles the weather. On dry, windy days, a windproof jacket or gilet can stop windchill from cutting through the system. In rain, use a weatherproof shell with enough breathability for the pace you plan to ride. The trade-off is real: the more fully a garment blocks rain and wind, the more carefully you need to manage heat buildup. For high-output riding, a breathable weather layer often performs better than an overly insulated jacket that leaves you soaked from the inside.
Build Around Your Effort Level
A steady recovery ride, a hard group ride, and a stop-start commute do not create the same amount of body heat. High-intensity riders usually need less insulation and more ventilation. Endurance riders, newer cyclists, and anyone riding at an easier pace may benefit from a warmer thermal layer or more complete wind protection.
This is why packable layers earn their place in winter. A gilet, lightweight shell, or compact rain jacket gives you a fast answer to changing conditions. Put it on before a long descent, after a café stop, or when the rain starts. Remove it before the next hard climb. The goal is controlled temperature, not one fixed level of warmth.
Protect the Areas That End Rides Early
Cold hands, wet feet, and an exposed neck can turn a good route into a short one. These areas deserve the same attention as your jacket and bib tights because they directly affect handling, comfort, and concentration.
Gloves should match both temperature and moisture. Light full-finger gloves can be enough in cool, dry weather, especially on hard rides. When temperatures drop or rain is expected, choose an insulated, wind-resistant option with a secure grip. Gloves that are too bulky can reduce feel at the levers, while gloves that are too light leave fingers slow and painful. For wet conditions, carrying a spare dry pair can make a major difference on long rides.
Feet are exposed to spray, wind, and cold air moving through shoe vents. Start with socks that manage moisture without excessive bulk. Add overshoes or toe covers when the road is wet, the wind is high, or temperatures fall. A waterproof overshoe helps manage road spray, while a thermal option prioritizes warmth. Neither can fully compensate for drenched socks, so make water resistance part of the full system rather than relying on one item.
A neck warmer or thin thermal cap can deliver a surprising amount of comfort for minimal bulk. The neck, ears, and forehead lose heat quickly in wind. Use low-profile pieces that fit cleanly under a helmet and can be adjusted during the ride. If you are constantly stopping to remove layers, the system is working against you.
Bib Tights, Shorts, and Lower-Body Comfort
Your lower body produces a large amount of heat, so it does not always need the heaviest protection. The right choice depends on temperature, wind, and how long you will be exposed. Thermal bib tights are the dependable option for cold days, especially when they use a brushed inner surface that holds warmth close to the skin.
For wet roads, prioritize fabric that resists spray in high-exposure areas. A good chamois remains essential in winter because damp fabric and longer layers can increase friction. The fit should remain stable at the hips and knees, with no loose material behind the knee or pressure at the front of the thigh.
In milder conditions, thermal leg warmers with bib shorts can offer greater flexibility. They are easy to remove if the day warms up, but they can shift if sizing or silicone grip is poor. Riders who prefer an all-day, no-adjustment setup will usually favor full tights. Riders facing wide temperature swings may prefer the adaptability of separate warmers.
Weatherproof Does Not Mean Overbuilt
The common winter mistake is wearing every warm item available. That approach can feel effective for the first few miles, then fail when sweat accumulates. Damp layers have less insulating value, and a heavy jacket becomes hard to regulate once the pace changes.
Look for purposeful construction instead. A windproof front panel protects the chest where cold airflow is most punishing. Breathable back panels help release heat during efforts. High collars, extended cuffs, and secure hems close the gaps where wind enters. Reflective details improve visibility in the low light that often defines winter training, but they should complement lights and predictable road positioning, not replace them.
For organized teams and clubs, consistent winter layers also matter beyond appearance. Matching jackets, tights, and accessories help riders show up prepared with the same technical standard across training camps, events, and early-season races. Custom winter kit should be built around reliable fabrics, accurate sizing, and a design that remains visible in gray conditions.
Make Your Kit Work Before the Big Ride
Test a new winter setup on a familiar route before wearing it for a long event, race, or remote gravel day. Check whether the jacket collar sits comfortably when your head is down, whether gloves work with your shifters, and whether overshoes interfere with cleat engagement. Small problems become major distractions after three cold hours.
Care matters, too. Rinse off road grit and wash technical garments according to their care instructions. Avoid heavy fabric softeners, which can affect moisture management and weather-resistant finishes. Dry layers completely before the next ride, including gloves and overshoes. A kit that starts damp is already behind.
The best winter setup is not the biggest one. It is the one that lets you train, race, and ride with the same confident movement you have in better weather. Build from the skin outward, plan for the route ahead, and choose each layer for a specific job. That is how cold-weather miles become productive miles.

Share:
How Many Kits Should a Cycling Team Order?
Bib Shorts vs Cycling Shorts: Which Fits You?